How to Set Up an Affordable Art Studio
Artists have to make a living. This is why we have to take our art business seriously. Setting up an art studio can be expensive. If you are starting one, you will want to know how to set up an affordable art studio. Here are some tips for doing this.
TIP 1: Find a Tax-Friendly State
One of the first things that you will want to do is find a tax-friendly state in which to set up your studio. You will need to pay income tax on your profits, and also on any investments you make into your business such as buying equipment for your studio. You may also need to pay sales tax on items that you buy for your business such as canvases or paints.
You will save money by setting up a studio in a tax-friendly state, so try and find an affordable art studio in one of these states:
New Hampshire – No corporate or personal income taxes!
Tennessee – No state income taxes
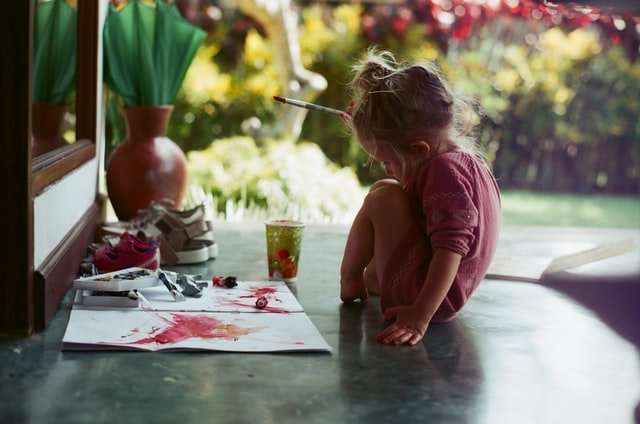
Artists, like other people, have bills to pay and responsibilities. They don’t always want to work at home, but when they do want to work at home, they need a safe and affordable studio space.
The good news is that it’s possible to set up an art studio in your home with a small budget. Here are some tips for purchasing the right equipment and getting started in your new art studio.
I have been following the posts for some time now and when I finally decided to take the plunge I found this book. This book is an easy to follow guide that will walk you through the steps of setting up your own art studio.
Tate is a professional artist and in this book he shares his wisdom from many years of experience. Tate is a very nice guy who also seems to care about helping others succeed in their goals.
This book is well worth the price! There are lots of good tips that are not just for artists but anyone who wants to do anything creative at home including writers, photographers, computer geeks, programmers, etc…
Creating your own art studio is indeed a very challenging process, but it is also a very rewarding one. The first thing that you have to do is to set up a budget for your project. The most important thing here is that you have to make sure that you can still afford other things in your life as well. While creating a studio will allow you to express yourself much better, you cannot deny the fact that it can be quite costly as well. Think about all of the items that you will need in order to create your personal art studio and how much each item costs. This will give you an idea of how much money you should allocate for this project.
Some items that you need for an art studio include:
1. A desk and chair
2. A drawing board
3. A lamp
4. A computer with painting software or a tablet with drawing software
5. Art supplies
6. Painting or drawing materials such as canvas and paintbrushes
7. And lastly, some sort of storage system for your different types of art supplies and materials
When figuring out how much each item costs, keep in mind that prices vary from one store to another and from one supplier to another. It would be wise if you can check different stores first
When starting a home studio for your art, you have to consider several things. First, you need a place to work. Many artists set up studios that are attached to their homes, but it’s nice to have a separate space of your own. Studio spaces often start out very small; if you begin small and build on your success as you go, you’ll never feel like a failure. It helps to have an actual room for your studio, but if you don’t, try using an area that has enough empty space.
* Set up a desk near a window.
* Use an adjustable height chair with good back support.
* Have an outlet near the desk.
* Place the computer monitor directly in front of you at eye level.
* Use a good quality ergonomic keyboard and mouse to reduce hand strain and fatigue.
* Keep your supplies organized in drawers, shelves and baskets within reach.
* Create a comfortable workstation with a task lamp for brightening your work area and a floor lamp for general lighting.
You may find it helpful to place a mirror on the wall (or ceiling) behind your desk so that you can see what you’re doing as you draw or paint. If you have room, it’s also helpful to have another set of shelves or an artist’s bookcase to hold books, magazines, reference tools, sketching materials and other items that you use frequently.”
The benefit of a table is that it saves you from having to hold your paper up against a board. If you set up your easel correctly, you can make a small change in the height of your paper and have it stay there. This will save you time and frustration when you are drawing or painting. The setup is easier if you use a floor lamp as your main light source. A floor lamp allows for more flexibility in the positioning of your work.
TIP: Although this is not absolutely necessary, using a circular table instead of a rectangle gives you more room on the sides to rest your arm while painting. The focal point should be directly over the middle leg of your tripod so that the weight of your paper doesn’t cause it to tip over as you draw or paint.
To begin with, turn the desk lamp so that it is shining towards the wall behind your work area. This will give you more even lighting than if it were shining towards your work. If the light dims too much when the lamp is turned away from you, use an extension cord to move the lamp farther away from where you are working. Make sure that your extension cord is rated for whatever appliance you are plugging into it and that all connections are secure.*