How To Create a Transparent Dark and Light Effect In Your Drawings
Recently I’ve been working on a couple of different illustrations and watercolor paintings that required me to create various effects of light and dark. In this blog article I will share the tricks to create a transparent dark and light effect in your drawings.
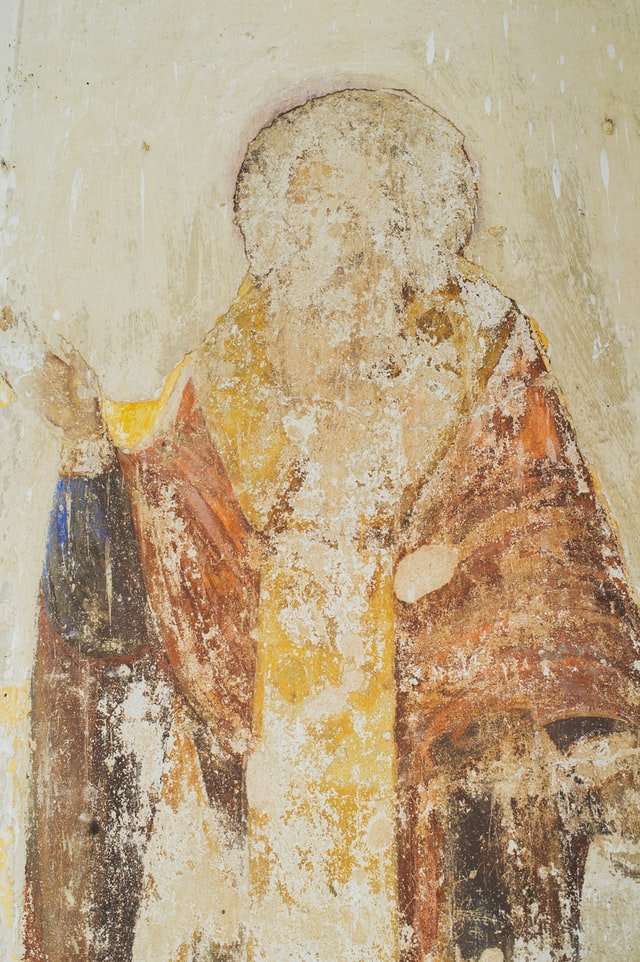
This is an image I created using a similar technique:
I have also used this technique to create other kinds of effects (light, fire, etc.) in my drawings. Below are some examples of my work where this technique was used:
The best way to create a transparent dark and light effect in your drawings is to first use a transparent foundation. You can achieve this by using white gouache or a transparent colored pencil.
When you have primed the surface, you can start drawing whatever you want over it. We’ll be using black ink in this tutorial article because it’s the easiest color to work with and the results will be quite visible.
However, the same principle can be applied to other colors too. Just make sure that your dark color has a bit of transparency so that the white underneath will show through slightly (keep in mind that the more opaque your dark color is, the less effective this technique will be).
Actually, any type of ink or paint can be used for this process, but for simplicity’s sake we’ll be using black ink in this tutorial article.
If you want to create a transparent dark and light effect in your drawings, try this technique. This article will tell you how to do it.
The trick is to use the “gray scale” of the drawing program to control luminosity. First make a layer for what will be the background, then make two layers for what will be the light areas, and one for what will be the dark area. The background layer should have the color and luminosity of the desired background; the light layers should have their position and luminosity set just right to make them transparent when they are over that background. The dark layer should be set up so that it is not transparent over anything but is partly or fully opaque everywhere else.
If you want to make your art look more transparent, there are actually a few ways to do it–rather than just trying to make everything darker.
In this quick blog entry I’ll show you how to make dark and light things in your art look more transparent by using two different methods that can be combined together.
The first method is done with a transparency tool and is best for adding subtle details to a drawing. The second method is done with the color picker and works well as a background, but can also be used for other effects. Both methods will work with any program that accepts layers or transparency (like Adobe Photoshop, GIMP, Krita, Karbon, Mypaint).
I have always loved fantasy and sci-fi themed art. I love creating these kinds of drawings as a hobby. Many beginners are intimidated by the dark, light and transparent effects in their work. You can get a lot of practice with them by working on bathroom art. Here’s how you can do it:
First, choose your drawing space. Somewhere where you won’t be interrupted is best, but you don’t need to go all out if it’s going to be just a small sketch. If you’re alone, then you can light some candles or use a lamp. That’s what I did for the example above.
Locate the darkest part of your drawing space (usually behind you) and block the area with something dark, like a large piece of fabric or a blanket. Then locate your bathroom mirror, draw curtains around it and remove everything from the sink area that isn’t absolutely necessary. This will be your light source; everything else will be darkened down to match it.*
You might find that there are some areas that need more lighting than others to get the effect you want. Use whatever resources you have at hand to achieve this; some towels rolled up and soaked in water would work well for this purpose if you are without paint or dry pastels.
I will try to explain now how I managed to do the effect above in a few easy steps. I found it is not so hard as it seems, but you need to be patient with it.
I used photoshop for this tutorial, but i’m sure you can use any other graphic software and achieve the same result.
First of all open your picture and create a new layer.
Now we’ll create the shadow behind the light:
Choose one of the dark colors you are gonna use for the light effect and fill a little bit your new layer. You don’t have to fill it completely, just make sure some pixels from your image are covered by this dark color (as shown in the first image). Make sure that there’s no white area around your image on this layer because if there is, you’ll get a white halo around your image when we go to reduce this layer’s opacity!
Now create another new layer and choose a medium light color. Choose a brush tool of about 300 pixels size, set the opacity of this layer to about 30% and start painting over the dark color you’ve putted before (as shown in the second image). The result should look something like this:
You might think that’s it! But not really
If you are looking for inspiration and ideas on how to make your bathroom art, then this article is the right place. We will tell you what you need to do in order to make your bathroom a unique place.
Here are some interesting tips that can help you make the most out of your bathroom art.