
Target Baby Nursery Ideas Using Stencils: A blog with DIY stencil projects using DIY stencils from target wall art.
For baby girl nursery design, you can use the pink and white color combination, also baby boys are good with the blue of green color combinations. For that baby room, you can hang some animal or bird wall decals on the wall. The animals like monkey and birds will be very suitable for the kids to choose.
You need to prepare a paint brush and some paints are good for this project. The glue is also needed, so that you can stick the stencils on your wall. Some other things that you may need for this project are some pictures frames and also some decorative items such as blankets or pillows which will be really suitable to decorate your baby room.
There are many different kinds of stencils available in the market, but if they are not available, you can make your own stencils at home. You can use some papers or cloth to make them. If you want to make a simple shape such as circle or rectangle, then it is easy to do it by hand. But if you want more complicated picture then digital drawing software is recommended for making them because it will help to make
If you are looking for simple, economical and DIY projects for your house, you should check the DIY target baby nursery ideas using stencils. The following ideas will show you how to create a beautiful room for your little one.
Since these projects are made with the use of stencils, they are pretty simple and easy to do. You can do them yourself at home or ask someone to help you out if you lack strength or time. Stencils are a great way to create a unique space in minutes. Besides, they are very affordable and will serve you for many years.
You can make nice DIY project using stencils on your own and save money on decorating your home. If you want more information about it, just check out the blog with DIY stencil projects using DIY stencils from target wall art.
Hi, I’m Sarah from The Crafty Crow. I’m so glad you stopped by! This blog is a place for me to share my DIY projects and tutorials. I love crafts, home decor, and just about anything creative.
I started this blog because I wanted somewhere to upload all of my DIY stencil projects. So far I’ve created stencils for baby nurseries, bedrooms, and every room in the house!
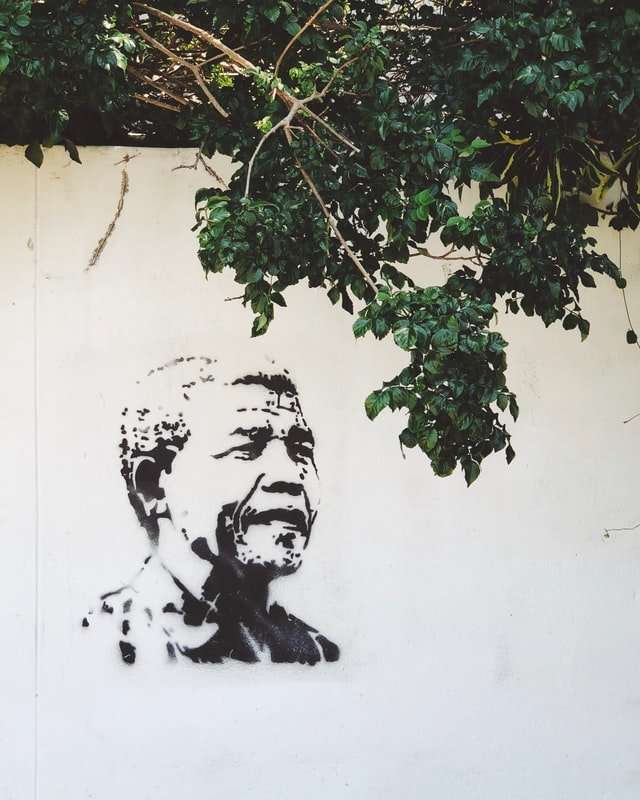
This is a step by step picture tutorial for DIY baby nursery decals. It may not be the most unique room in the world, but a girl can dream right? With my limited wall decor skills, I decided to go with what I feel like are safe, neutral colors. I also decided to use stencils from target because they’re cheap and I won’t be as disappointed if they don’t come out perfect!
The first thing you will want to do is print out your stencil. You can print this project on regular paper, but if you want it to last longer I would recommend printing on cardstock.
After cutting out your stencil, lay it on the wall and take a look to see how much space you are going to need around it. The stencils that I used were pretty large and didn’t necessarily fit the space just right, so I had to cut some of them down a little bit.
If you’re looking for some wacky and creative DIY projects to do with your little one, take a look at this blog. You’ll find ideas for decorating nurseries, as well as useful tips on how to make the most of your home.
There are also interesting invites to join free giveaways in order to win stencils, wax seals and other cool stuff. If you’ve always wanted to give your home a facelift using stencils, you should definitely check out this blog. On the site, you will find a collection of stencils that you can use for various projects and designs.
Can you believe that I found this awesome wall art on the Walmart site? It’s a great price and I’m hoping to find matching sheets, curtains, etc.
For this project, I started with a sheet of plywood cut to 24″ x 36.” I painted it black with spray paint.
I used my Silhouette to cut out two of the large circles in some fun fabric (this is from the same fabric line as the pillows and duvet cover). I placed the stencils on the wall and traced around them with a pencil. Then, using a dry erase marker, I drew lines from one circle to another.
Took it down and did some touch ups where needed.
Next, I simply nailed it up using finishing nails with washers. The flat washers will make it easier to hang when there isn’t a stud behind the wall.
I’ve got plenty of stencils left, so I might do another one in a different color scheme!
t’s time for the annual “halloween is just around the corner” reminder, so that seems like a good time to share this stenciled pumpkin project.
Oh, I know it’s not officially halloween yet (it’s not even technically fall), but this is one of those things where it’s just easier to start now than wait and then have to try to fit it in later. Better to get it done now and have it ready and waiting for when you’re actually in the mood for it.
So, let’s talk about stenciling pumpkins! Stenciling pumpkins is actually a pretty easy thing to do, if you have a few tricks up your sleeve. And I do. Which means you do too.
And you’ll need some materials:
Pumpkin(s) of course Paint in whatever color(s) you want your design(s) to be (and a second color of paint as well; don’t worry, we’ll talk more about that in a moment!) A foam brush A stencil (this is definitely my favorite kind of pumpkin stencil!) A pencil or pen Something to use as a scraper (I like using an old plastic credit card, or something similar) Some newspaper or
ArtsPainter is a contributor at Arts Painter. We are committed to providing well-researched, accurate, and valuable content to our readers.
Table of Contents


