8 Tips to Create a Designer Look on a Budget – IKEA Hackers
When you admire a room in a magazine and say, “I’d love to have that look,” you aren’t copying the whole room. Instead you’re trying to get the best pieces of the look.
You can even copy a few pieces of design without copying an entire room. This is where IKEA hacks come in handy. They can be fun and economical ways to get your hands on what looks like expensive designer furniture (and doesn’t break the bank).
In this post I’ve collected some of my favorite hacks created by members of IKEA HACKERS. These hacks will help you get started with creating your own designer look on a budget. You can find more great IKEA HACKS here .
Here are some of my favorites:
1) How-to make your own TV unit from KALLAX shelving units and Dokument box.
2) Basic steps to transform an IKEA KALLAX into a custom TV stand .
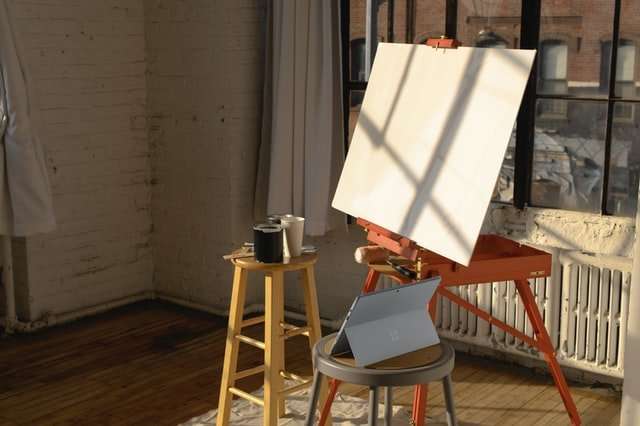
3) How-to use a VITTSA shelf as wall art .
4) How-to create custom wall art from FINTORP frames and LED lighting kit .
If you love art but don’t want to spend too much, check out the IKEA Hackers blog (and its companion website). There are many great ideas here for making your home look like a million bucks with only a few hundred invested.
One of my favorites is the “Floating Picture Frame” project, which uses an inexpensive frame at IKEA ($5.99) and some ribbon ($3.99) to create a classy touch on a wall, as shown in the picture above. The project requires some skill with a hot glue gun, and you’ll have to paint the frame yourself, but the results are stunning and look very expensive. Here’s what you do:
1. Remove the glass from the IKEA frame, then hot glue ribbon around the edge of the frame.
2. Paint the frame white, then secure it back into place in the white box that comes with it.
3. Take black-and-white photographs from magazines or print them from your computer, and secure them behind clear adhesive sheets (this is standard procedure for most photo frames).
4. Remove the backing from each image and place it in its own little square on top of the white space in your IKEA frame.
I love
IKEA isn’t just for college kids and young professionals anymore. With some elbow grease and a few well-placed additions, your IKEA furniture can look like it came from a high-end store. Here are some simple tips to creating a designer look at an affordable price.
1. Choose your color palette wisely.
IKEA is famous for its wide array of options when it comes to paint colors and materials. When you’re trying to give your IKEA furniture a designer look, be sure to choose paint colors that match well with the pieces you already have. Choosing one bright color to make an accent piece will unify your room without overwhelming it.
2. Add texture through pillows and throws.
Adding texture is a great way to add interest without adding clutter or bulk to your room. Mixing small patterns with large patterns, adding plush pillows with sparkly accents, or using contrasting textures from the same material can really define the style of your room.
3. Bring in natural light through strategically placed mirrors or table lamps.
Mirrors are often used by interior designers because they reflect light and create the perception of more space in a room. You can also bring in natural light by placing lamps where there is no overhead
Even if you’re on a budget, it doesn’t mean you can’t have your space look designer. IKEA is one of the most popular furniture websites for their modern and affordable furniture.
The Right Look
IKEA has a huge selection of items that are cheap, but fashionable. You can use those pieces to make a lovely room. But even if you aren’t on a tight budget, we’ve found a few ways you can save more money while still getting that designer look.
We all want to make a statement with our home’s decor, but we don’t always have a designer budget. With these eight great tips you can DIY something beautiful and keep your bank account in the black.
1. Painting with Chalkboard Paint
Chalkboard paint is a great way to bring back that old chalkboard feel and add a playful touch of whimsy to your decor. Turn any surface into a chalkboard by simply painting it with this easy-to-apply coating. This is a quick and simple project that anyone can do at home.
2. Mod Podge on Canvas
Mod Podge is a great way to give an inexpensive frame new life. Not only does it help protect the wood, it also adds an interesting texture, making the frame look like something that cost much more than it did.
3. Wallpaper in Your Bedroom
Wallpaper can make or break the look of a room, but the right wallpaper in the right place can really make your space pop without breaking the bank. We love this idea of using wallpaper behind one piece of furniture as an accent wall for some extra visual interest. This is also a good tip for renters who aren’t allowed to paint their walls because they’re not sure how long they
IKEA is the place to go for almost everything, but what if you want something that doesn’t quite exist? Here are some great ways to take the ordinary and turn it into something extraordinary.
Divide the piece of cardboard into 9 equal sections. Using a ruler and a pencil, mark off each section according to the diagram below. (Source: jessicagavin)
Step 2: The 1st Mark
Using the first mark as your guide, draw a line from top to bottom on the back of your piece of fabric. This line should be 3-1/2″ long. (Source: jessicagavin)
Step 3: The 2nd Mark
On the front side of your fabric, use the second mark as a guide to draw another line. This line should be 6″ long and 2-3/4″ high. (Source: jessicagavin)
Step 4: The 3rd Mark
On the back side of your fabric, use the third mark as a guide to draw another line. This line should be 6-1/2″ long and 3″ high . (Source: jessicagavin)
Step 5: The 4th Mark
On the front side of your fabric, use the fourth mark as a guide to draw another line. This line should be 8-1/4″ long and 2″ high . (Source: jessicagavin)
Step 6